Friday, September 28, 2018

Benefits of a Water Softener

Knowing why some water is considered hard while other water is soft will allow you to understand why a water softener could make your life a little more pleasant and might even save you some money. While both hard and soft water are safe to drink, hard water generally contains large amounts of two minerals — magnesium and calcium. These minerals will leave an unattractive soapy scum on drinking glasses and reduce the lather soaps can create leaving clothes washed in them stiff and crusty. Over time the minerals will build up deposits on the inside of water pipes and fixtures, reducing water flow and eventually requiring they be replaced. A water softener will eliminate these problems.

How Do Water Softeners Work?

The idea behind a water softener is very simple: replace the magnesium and calcium ions in the water with a mineral that works with soap (so glasses look clean and clothes aren't stiff). It also won't build up on the inside of pipes. Generally that replacement mineral is either sodium or potassium.
The water softening process takes place inside the water softener where water coming into the house runs through a bed of small plastic (zeolite) beads covered with sodium or potassium. As the water passes over the beads, an ion exchange takes place, leaving the calcium and magnesium ions on the beads and the sodium replacement ions in the water.
Over time, the plastic beads become coated with calcium and magnesium and the bed needs to be regenerated by flushing the beads with a strong solution of brine that's rich in sodium. During the regeneration or backwashing process, the calcium and magnesium ions along with any dirt and residual sodium are flushed out of the water softener, leaving behind newly regenerated sodium ion coated beads.

How Do I Know if My Water Is Hard?

Mineral content isn't all bad. There are degrees of water hardness ranging from less than 1 gpg (grain per gallon) all the way to above 10.5 gpg. It's generally felt that if your water is above 7.1 gpg, a water softener will be useful.
The only ways to determine the mineral content of your water are to either have your water tested or to ask your utility directly.
In general, water taken from the ground contains minerals, so if your water comes from a well or you live in a municipality that doesn't have a water treatment facility, you more than likely have hard water.

Are There Any Downsides to Water Softeners?

Since water softeners replace magnesium and calcium with sodium, they are adding salt to the water (salt is sodium chloride). There may be potential health risks for people on low salt diets or suffering from high blood pressure or kidney disease. You can eliminate this problem by installing a water line that bypasses the water softener so drinking water doesn't go through the water softener but runs directly to the tap.
The high sodium content of softened water means it shouldn't be used for watering lawns or gardens since the sodium will the inhibit growth.

How to Install Pipe Straps

Pipe straps, also called pipe clamps, have several functions. Their main purpose is to secure pipes to a surface and stop them from falling. Straps also help prevent vibration from high water pressure, which is why pipes sometimes become noisy. These sounds will become worse over time, especially when existing straps loosen from the constant barrage of pressure. With that in mind, it's important to keep pipe straps secure and periodically check them to avoid noisy pipes.

Step 1 - Inspection

The first step in installing pipe straps is to find out where the pipes are making noise. You can do this by turning on the water and listening for loud bangs and noises. Once you locate the problem areas, measure out the length of pipe to determine how many straps you will need. It's recommended to install pipe supports every four to six feet, depending on the size of the pipe. You may need to put the supports closer if the water pressure it too high for the recommended spacing.

Step 2 - Find the Right Size

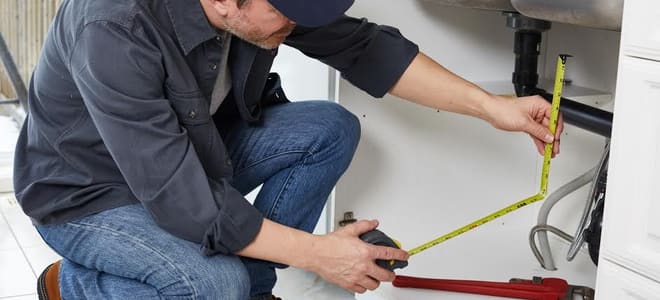
A plumber measuring pipe underneath a sink.
Before you go out and buy pipe straps, you need to measure the pipe diameter to make sure they will fit. Most clamps will fit a range of sizes and are specifically made for certain types of material. The color of the clamp should correspond to the color of the pipe. You also need to consider the type of pipe strap and whether it will work for your system. Some types of clamps, such as saddle clamps, can be screwed directly into place while others clamp around the diameter of the pipe and are suspended from above.

Step 3 - Install

After you've selected the right type of pipe strap, it's time for the install. The installation will vary depending on the type of clamp you select. For saddle clamps, you will need a secure surface in which to screw them in. Studs are ideal for this purpose, though you may need to install additional support materials for proper spacing. You should also use quality screws when installing clamps and ensure they are snug against the surface. Any movement in the pipes can create noise and loosen the clamps over time.

Step 4 - Check Existing Clamps

After you've successfully installed the new straps, it's a good idea to inspect the entire run of pipe for loose fittings. In older homes, you may encounter straps with nails. The nails should be replaced with screws because they are less likely to dislodge under pressure. If you encounter a loose clamp, simply move it over a few inches and screw it into another part of the backing. If the pipe system does not feature straps, it's good practice to install them throughout the home to prevent future problems.

Step 5 - Final Check

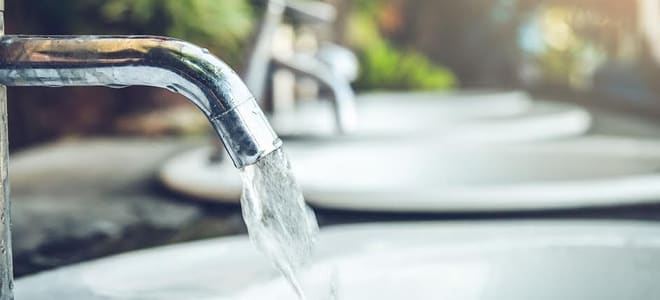
Running water from a sink.
Once everything is installed, you should make sure the straps are doing their job. Turn on the water and listen again for any noises. You may need to install additional straps where necessary or consider a larger diameter pipe if the pressure is too high. Pipe straps are fortunately inexpensive, so adding them to your home’s plumbing system will not break the bank.

Tips

You can find pipe straps locally or online. When purchasing pipe supports online, make sure you double-check the fit and weight limits of the clamps. Not all pipe straps are created equal, and selecting the right kind for your home will ensure you put an end to those noisy pipes once and for all.

The Best Pipe for the Job

Often, it’s not the mechanics of home repair that make DIY projects difficult. Sometimes, there are so many options that even the simplest projects become overwhelming. When it comes to your plumbing system, it's important that you use the right type of pipe. Learn how to find the best pipe for any job, and plumbing repairs and upgrades will become simple again.

PEX Pipe

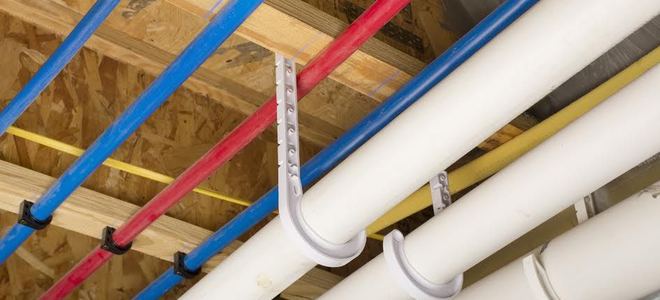
Red and blue pipes in a new home.
Used in construction for water supply lines, PEX pipe is very easy to work with. It's tolerant to temperature changes and rarely leaks. Unlike metal pipes, it almost never bursts. This pipe is flexible and easy to cut, and it will bend wherever you need it to bend. This is a favorite choice among DIYers because PEX is so easy to work with that anyone can use it.
You don't need to be a professional plumber to work with PEX. It’s even color-coded. Blue PEX pipes are for cold water lines, and red pipes are for hot water. Plumbing really isn’t going to get any easier than this. The drawback for many is that PEX can be expensive, especially if you're using a lot of it for a large-scale plumbing project.

PVC

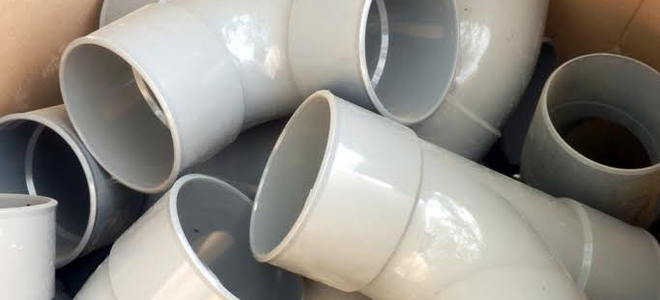
A pile of PVC pipes.
PVC pipe, also known as polyvinyl chloride, is a popular DIY pipe, but it's not always used for plumbing projects. PVC is easy to work with and comes with so many bends and fittings that you can use it to build all sorts of items. If you’re an avid DIYer, you may already be familiar with PVC pipe. But plumbing with PVC isn’t like those other DIY projects.

In plumbing, PVC is most often used for stacks and waste pipes. Fitting a bunch of PVC pieces together to make a soccer goal and using them to build a drain line are two very different things. You need PVC pipes to be watertight when you’re using them for plumbing, and that means you need to use PVC cement with every fitting. Every bend, every drop, every section of pipe has to be put together with PVC cement. This technique can be tricky, and can even require professional expertise. PVC pipe itself is affordable, so there may be room left in the budget to hire a professional plumber.

Copper

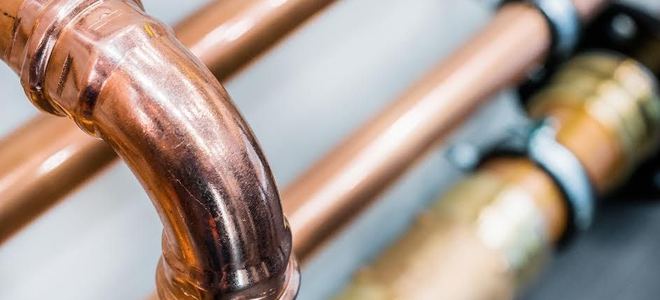
Copper pipes.
Despite its many good qualities, copper piping is generally only used in small doses. It's often attached to hot water heaters and used for very short water supply lines. Copper pipe doesn't corrode and keeps water clean. It is very durable and can withstand extreme temperatures.
Monetarily, copper has a lot of intrinsic value. Some abandoned houses are even looted for their copper pipes. Copper pipes are expensive, which is why they are not often used to plumb entire homes. Copper is also difficult to work with, unless you're experienced with plumbing. Copper has to be cut with a saw, and it can be tricky to fit into other pipes and to other pieces of copper.

Galvanized Steel

Galvanized steel pipes
Galvanized steel is almost synonymous with plumbing because it is used so often. Extremely durable, galvanized steel is a very strong pipe that's not used often in newer construction. You will find this a lot in older homes, however, because galvanized pipes were a construction standard for many years.
Galvanized pipes are very expensive and difficult to work with. Galvanized steel pipes are threaded on each end, and require fittings to connect with other pipes. That's why these pipes can leak around the joints, and fell out of fashion in home building.

Choose Your Pipe

Think about the DIY project you have in mind, the repair work you need to do, or the upgrade you’d like to make. Selecting the right materials is the hardest part of some jobs. Once that’s done, your project is already half over.