
Pipe straps, also called pipe clamps, have several functions. Their main purpose is to secure pipes to a surface and stop them from falling. Straps also help prevent vibration from high water pressure, which is why pipes sometimes become noisy. These sounds will become worse over time, especially when existing straps loosen from the constant barrage of pressure. With that in mind, it's important to keep pipe straps secure and periodically check them to avoid noisy pipes.
Step 1 - Inspection
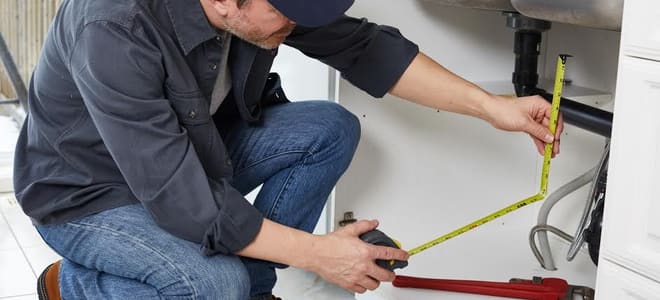
The first step in installing pipe straps is to find out where the pipes are making noise. You can do this by turning on the water and listening for loud bangs and noises. Once you locate the problem areas, measure out the length of pipe to determine how many straps you will need. It's recommended to install pipe supports every four to six feet, depending on the size of the pipe. You may need to put the supports closer if the water pressure it too high for the recommended spacing.
Step 2 - Find the Right Size
Step 3 - Install
After you've selected the right type of pipe strap, it's time for the install. The installation will vary depending on the type of clamp you select. For saddle clamps, you will need a secure surface in which to screw them in. Studs are ideal for this purpose, though you may need to install additional support materials for proper spacing. You should also use quality screws when installing clamps and ensure they are snug against the surface. Any movement in the pipes can create noise and loosen the clamps over time.
Step 4 - Check Existing Clamps
After you've successfully installed the new straps, it's a good idea to inspect the entire run of pipe for loose fittings. In older homes, you may encounter straps with nails. The nails should be replaced with screws because they are less likely to dislodge under pressure. If you encounter a loose clamp, simply move it over a few inches and screw it into another part of the backing. If the pipe system does not feature straps, it's good practice to install them throughout the home to prevent future problems.Step 5 - Final Check
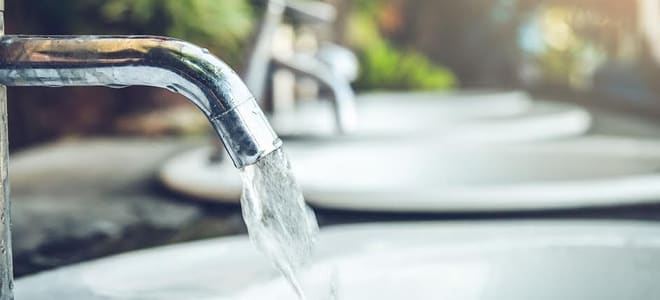
Once everything is installed, you should make sure the straps are doing their job. Turn on the water and listen again for any noises. You may need to install additional straps where necessary or consider a larger diameter pipe if the pressure is too high. Pipe straps are fortunately inexpensive, so adding them to your home’s plumbing system will not break the bank.
No comments:
Post a Comment